Products
Acousti-Mat®
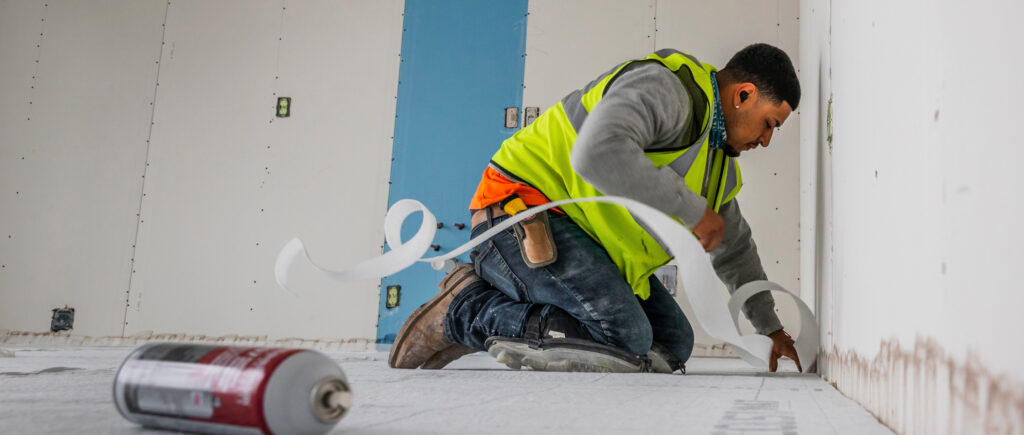
Applicator Installed
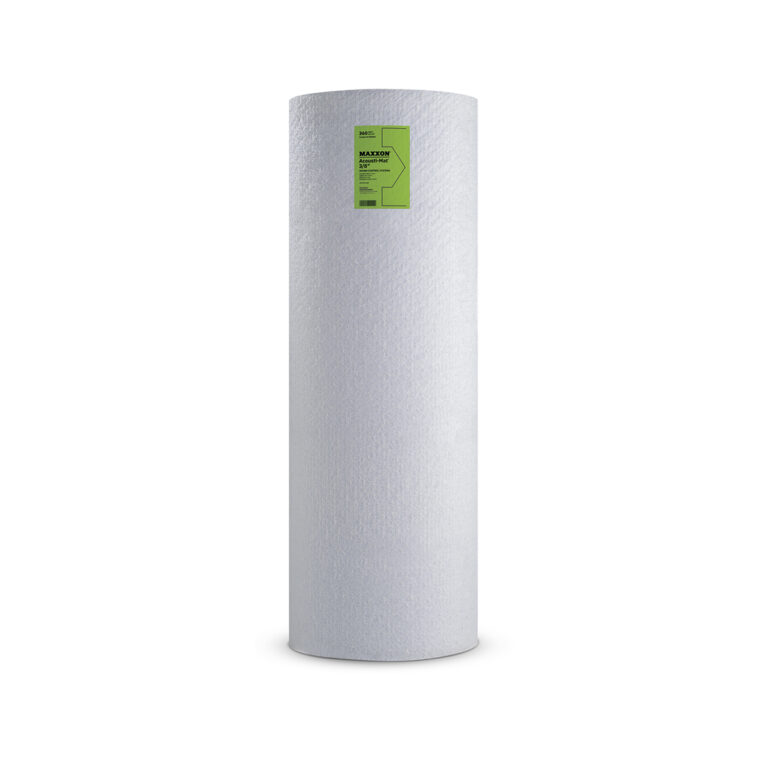
Acousti-Mat® SBR
Applicator Installed
A 3/8" sound control mat to help insulate airborne and impact-based sound.

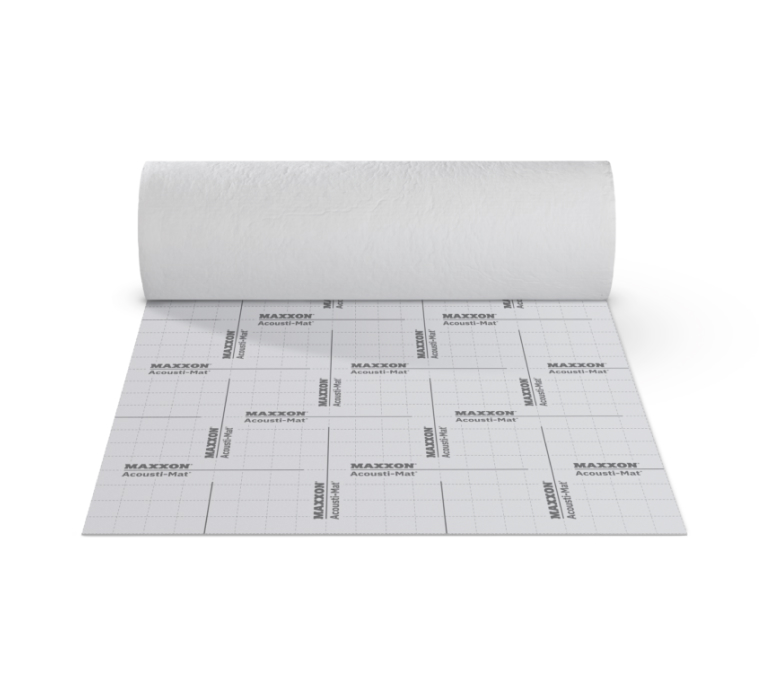
Acousti-Mat® 1/8
Applicator Installed
An economical, low-profile, entangled mesh mat, which can help meet IBC sound control.
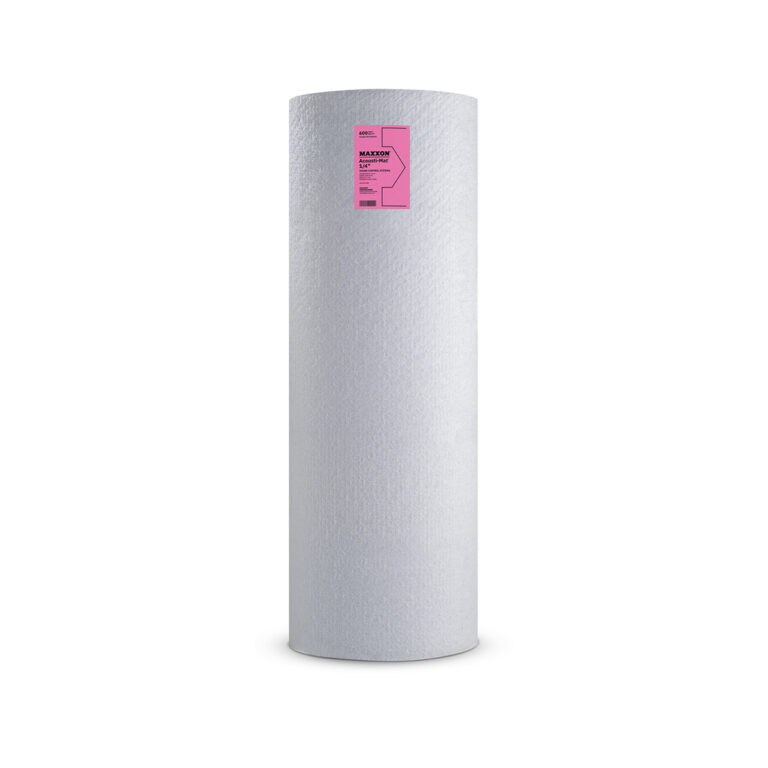
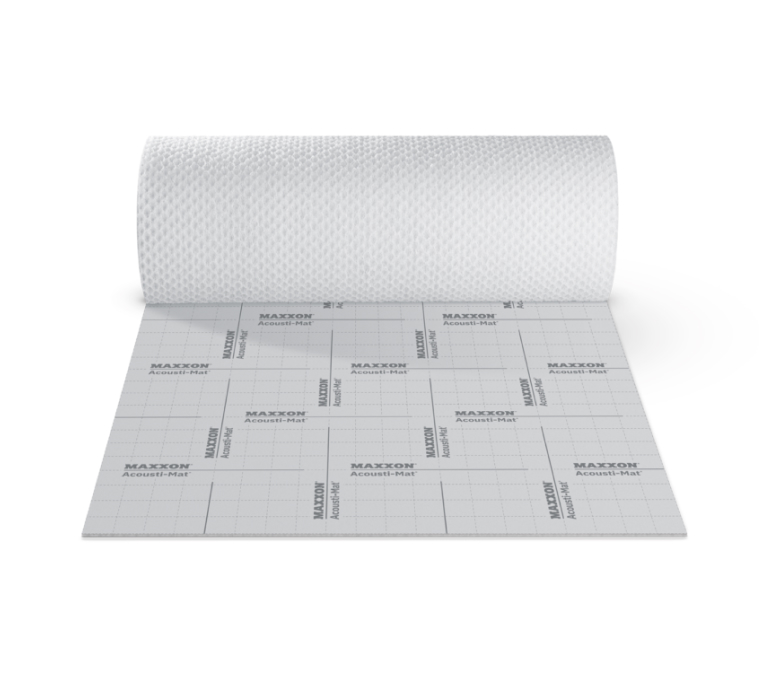
Acousti-Mat® 1/4
Applicator Installed
1/4 sound mat increases IIC and STC ratings over interior wood frame and concrete construction.
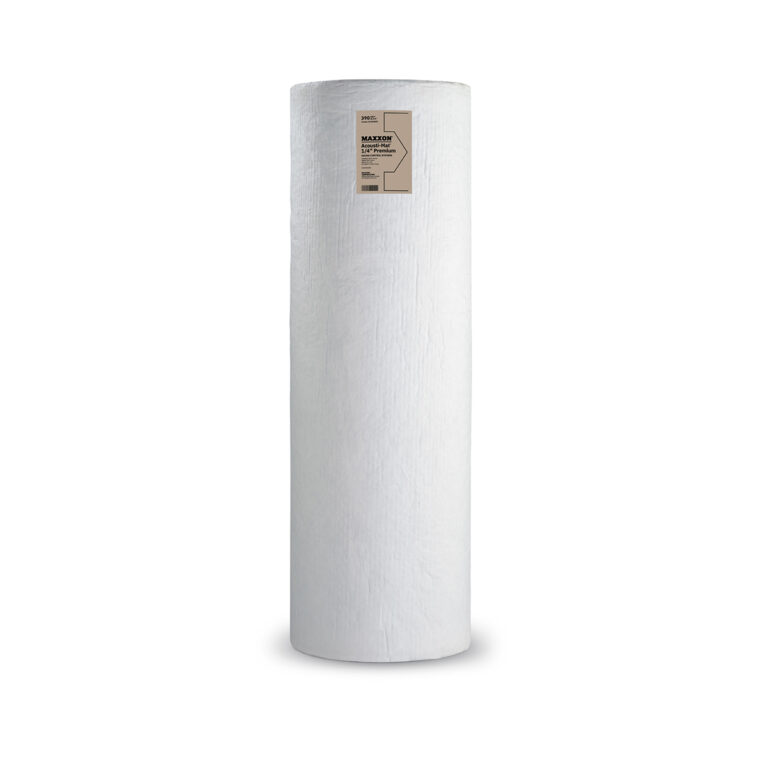
Acousti-Mat® 1/4 Premium
Applicator Installed
1/4 Premium sound mat with an added layer of acoustical fabric for increased isolation.
Acousti-Mat® 3/8
Applicator Installed
3/8" sound mat that creates ‘recommended’ or ‘preferred’ noise reduction.
Acousti-Mat® 3/8 Premium
Applicator Installed
3/8" Premium sound mat with added layer of high-performance acoustical fabric for high-end multifamily projects.
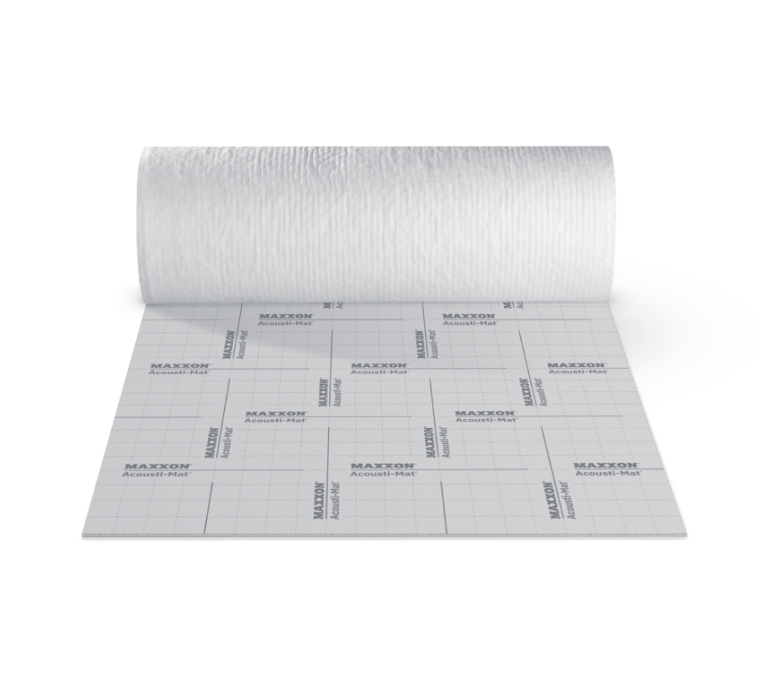
Acousti-Mat® 3/4
Applicator Installed
A 3/4" sound control mat to help insulate airborne and impact-based sound.
Acousti-Mat® 3/4 Premium
Applicator Installed
Maxxon’s highest performance sound control mat.